
Bed Bug Preparation Checklist
Preparing your home properly is one of the most important steps for a successful bed bug extermination. This checklist will help ensure your chemical, heat, or combination treatment goes smoothly and achieves the best results.
1. React Quickly to a Suspected Infestation
At the first sign of bed bugs—bites, stains, or live insects—take immediate action. Acting fast prevents the spread and makes treatment simpler and more affordable. Waiting too long allows bed bugs to multiply and spread into neighboring rooms or apartments.
2. Contact a Professional Bed Bug Extermination Service
DIY sprays and foggers rarely work and can make infestations worse. A licensed extermination team uses proven methods such as chemical treatment, heat treatment, or a combination of both for complete removal. Professional products and equipment reach cracks, crevices, and furniture seams where bed bugs hide.
3. Inform Your Landlord or Property Manager
If you rent, notify your landlord or building management immediately. Early coordination helps ensure that adjoining units are inspected and treated if needed, stopping the spread of bed bugs through shared walls or vents.
4. Launder All Clothing, Linens, and Fabrics
Bed bugs hide in fabrics and clutter. Place all bedding, curtains, and clothing in sealed plastic bags before removing them from the room. Wash and dry on the highest heat setting for at least 30 minutes. Once cleaned, store items in new sealed plastic bags or bins to prevent re-infestation.
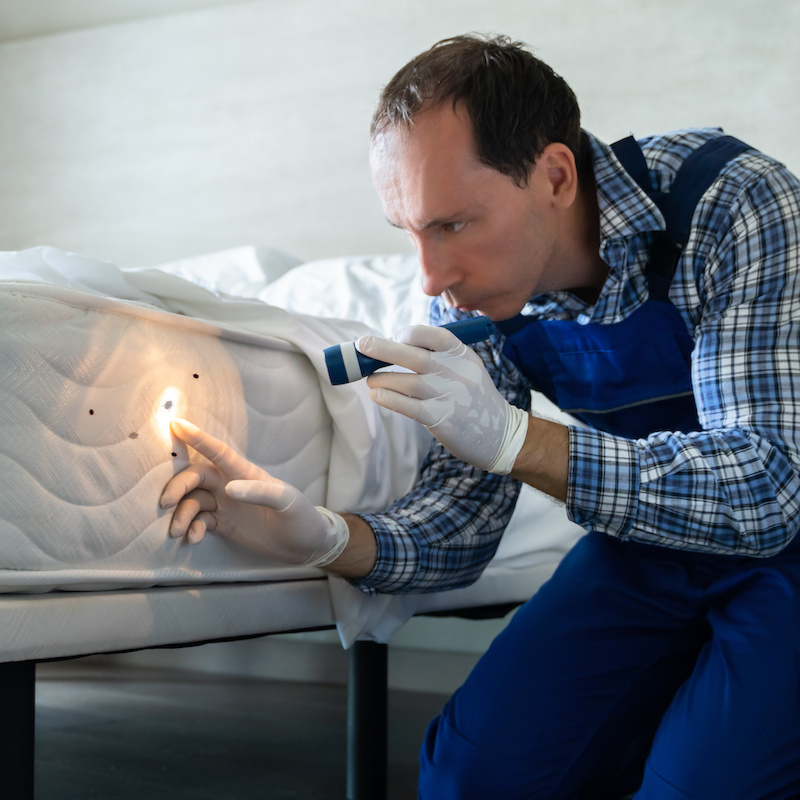
5. Save Any Evidence of Bed Bugs
If you find live insects, eggs, or shed skins, place them in a sealed container or plastic bag. This sample helps confirm the type and severity of infestation during your treatment consultation.
6. Common Mistakes to Avoid
- Don’t use bug bombs or aerosol sprays. These scatter bed bugs into deeper hiding spots, making them harder to eliminate.
- Don’t wait for the problem to resolve itself. Bed bugs reproduce rapidly, and delaying treatment only worsens the situation.
- Don’t spray bedding or furniture. Always wash or heat-treat items instead.
- Don’t move to another room or property. Bed bugs can easily travel with you in clothes or luggage.
- Don’t throw away furniture. Most items can be safely treated. Moving them could spread bed bugs elsewhere.
7. How to Prepare the Bed for Treatment
Step 1: Strip and Launder Bedding
Remove all bedding materials—sheets, blankets, pillowcases, and bed skirts. Seal them in a plastic bag, wash in hot water, and dry on high heat for at least 30 minutes.
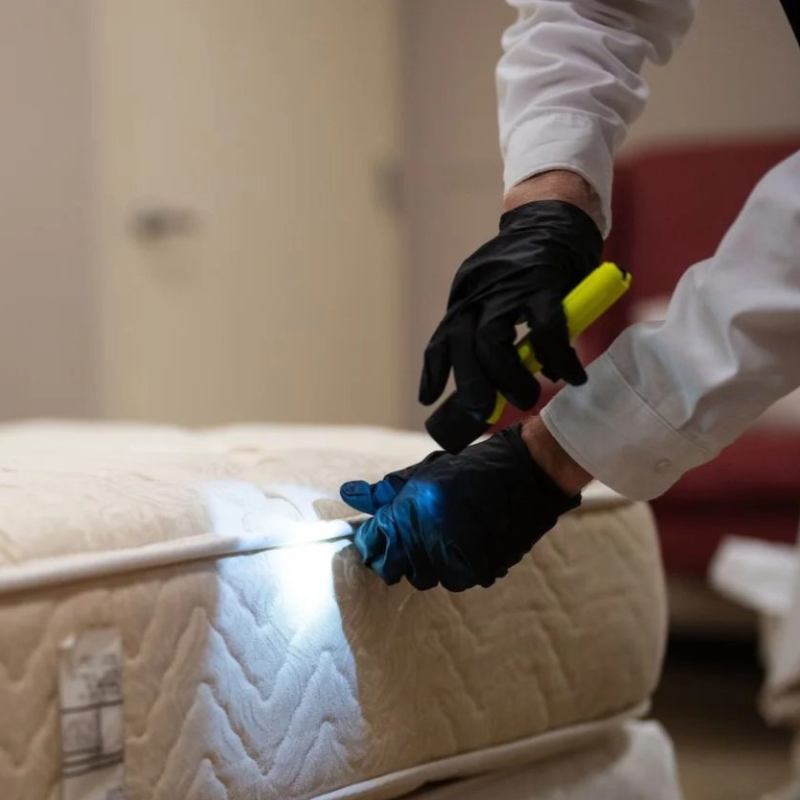
Step 2: Install Mattress and Box Spring Encasements
Use durable fabric encasements to trap existing bed bugs and prevent re-infestation. Avoid thin or plastic covers that may tear easily.
Step 3: Elevate and Isolate the Bed
Ensure the bed is on a frame and pulled several inches away from the walls. This allows technicians to treat all sides and apply the necessary barriers.
Step 4: Clear the Surrounding Area
Remove clutter from around and under the bed. Keep only essential items in the room during treatment.
8. Preparing Items in the Room
- Empty drawers, nightstands, and storage near the bed. Wash or heat-treat clothing.
- Move all furniture 6–12 inches away from walls to allow access for treatment.
- Vacuum the floor thoroughly, especially along baseboards and edges. Dispose of the vacuum bag or empty the canister outside.
9. Proper Bagging Technique for Infested Items
Bagging items correctly prevents bed bugs from escaping or spreading to clean areas. Follow these steps carefully:
- Fill sturdy plastic bags no more than three-quarters full.
- Twist the top tightly and tie a strong knot. Avoid drawstring bags.
- After washing, store clean items in new sealed bags or containers.
- Dispose of used bags outdoors immediately.
10. Items to Remove Before a Heat Treatment
Heat treatments can damage certain materials. Remove the following items before your appointment. Food and medication can remain safely in the refrigerator.
Flammables & Pressurized Items
- Aerosol cans, inhalers, or other pressurized containers
- Gasoline, propane, and lighter fluid
- Ammunition and oxygen tanks
- Carbonated beverages or sealed glass bottles
Perishables, Plants & Wax-Based Items
- All food or meltable items
- Indoor plants and seeds
- Candles or wax art pieces
Valuables & Sensitive Materials
- Medications (store in fridge)
- Musical instruments or electronics
- Paintings or delicate artwork
- Plastic items that can melt under heat
11. Post-Treatment Instructions
- Be patient: It may take time for all bed bugs to be exposed and eliminated after the first treatment.
- Vacate during treatment: All occupants, including pets, must leave the home for several hours as advised.
- Protect aquariums: Turn off filters, cover with a damp towel, and restore aeration only after treatment.
- Avoid mopping: Do not clean treated surfaces or baseboards for several weeks to preserve residual protection.
12. Final Preparation Tips
Completing this checklist ensures your bed bug treatment is as effective as possible. A well-prepared space allows technicians to treat thoroughly and helps prevent future infestations. If you’re unsure about a step, ask your pest professional for clarification before treatment day.